Hello friends, This is my first blog so please ignore if there are any mistakes.
For making a GUI on Arduino TFT LCD, first of all, we need to know the resolution of LCD Display,
Let's say, it is 240x320, we need to divide the rectangular box into 240x320 pieces, I know it is impossible. Let it make 24x32 which make the process a bit easier.
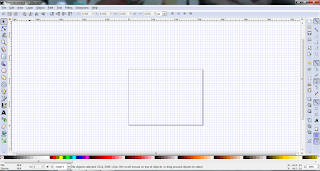
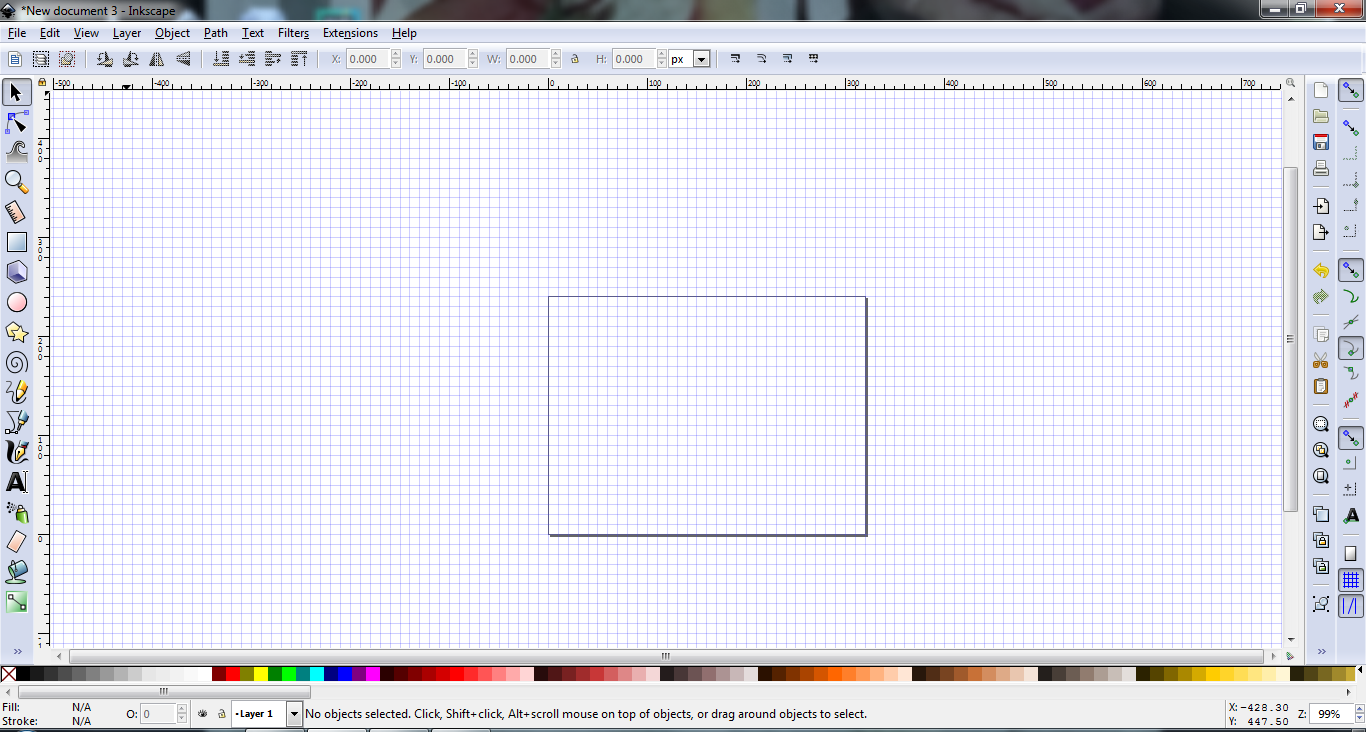
For making this process we can use the free software called INKSCAPE(Click to download). It is basically a vector designing software. First of all, go to "File">"New from template"> Select "Desktop" and give the resolution as height and width. eg: 240 & 320 as shown in the figure below.


Zoom a bit to fill the row and column as 24x32, If you know a better way to do this you can go ahead.
Take a screenshot and save it (also I took a printout of that for making more convenient) and gave each row and column numbering 24 and 32 respectively starting from the top left corner(0,0). The column is from left to right and row top to bottom direction.
After that, if you took a printout, you can draw on the columns and design according to your requirement. otherwise, you have to imagine and count the column and row to find each point where you want buttons or any other visual representations.
The main work lies when you start to program the device. If you are using UTFT or Adafruit libraries, you get the documentation about the codes you can use to design your GUI. Or if you are using any other libraries you have to find coding on your own.
I will share the images of the sample GUI designed by this method.
For making a GUI on Arduino TFT LCD, first of all, we need to know the resolution of LCD Display,
Let's say, it is 240x320, we need to divide the rectangular box into 240x320 pieces, I know it is impossible. Let it make 24x32 which make the process a bit easier.
For making this process we can use the free software called INKSCAPE(Click to download). It is basically a vector designing software. First of all, go to "File">"New from template"> Select "Desktop" and give the resolution as height and width. eg: 240 & 320 as shown in the figure below.


Buy Nextion Display - 2.8" https://amzn.to/2xiMGxC
Zoom a bit to fill the row and column as 24x32, If you know a better way to do this you can go ahead.
Take a screenshot and save it (also I took a printout of that for making more convenient) and gave each row and column numbering 24 and 32 respectively starting from the top left corner(0,0). The column is from left to right and row top to bottom direction.
After that, if you took a printout, you can draw on the columns and design according to your requirement. otherwise, you have to imagine and count the column and row to find each point where you want buttons or any other visual representations.
The main work lies when you start to program the device. If you are using UTFT or Adafruit libraries, you get the documentation about the codes you can use to design your GUI. Or if you are using any other libraries you have to find coding on your own.
Note: If you are using cheaper TFT LCD, you better go with Adafruit library because possibly it wont work with UTFT libraries. Find the compatible Library for your LCD.
I will share the images of the sample GUI designed by this method.
Comments
Post a Comment